Galaxy Nail Tutorial
Galaxy nails are one of my favorite designs. Luckily, they are super easy to do! You really can't mess these up. Here's a step by step tutorial for creating this design.
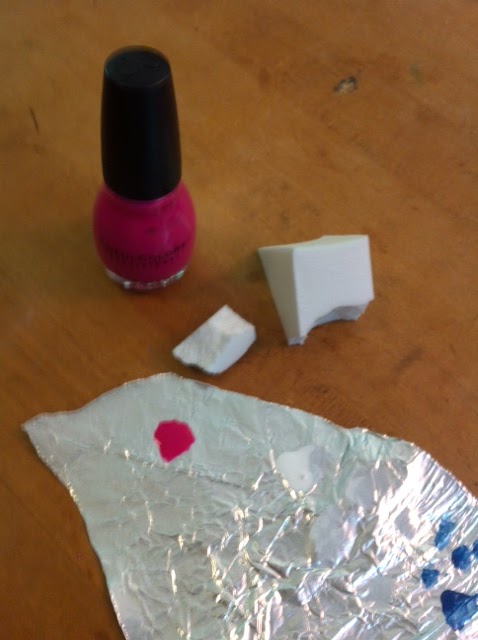
Gather your materials. You will need:
Base Coat (Nail Tek III)
Black Polish (Ulta Little Black Dress)
White Polish (Sinful Colors Snow Me White)
Blue Polish (Revlon First Class)
Pink Polish (Sinful Colors Boom Boom)
Yellow Polish (Sally Hansen Xtreme Wear Mellow Yellow)
Top Coat (Seche Vite)
A Makeup Sponge
A Dotting Tool or Toothpick
Foil

Step 1: Apply your basecoat, and then paint your nails black. I chose this black polish because it has a bit of a shimmer to it, which goes well with the galaxy design.

Step 2: Rip off a small piece of your makeup sponge, and put some white polish on the foil

Step 3: Sponge on your white polish. The white will be the base of your galaxy, so you want to use it to make the overall shape of the galaxy.
Make sure you dab off excess polish on the foil before sponging on your nails!

Step 4: With another piece of your makeup sponge, sponge the blue polish just to the outer edges of your galaxy

Step 5: With another piece of sponge, use the pink polish and sponge it lightly over the middle of the galaxy.
You want to have some sections where the pink is a little bit darker

Step 6: Repeat with the yellow polish like you did with the pink. It should go more in the middle of the galaxy


Step 7: Using your small dotting tool or toothpick, add stars by dotting white polish to the outside of your galaxy (just where the black polish still shows and the outer edge of the blue)

Step 8: Finish off with your top coat, and voilà!! Galaxy nails are complete!

No comments:
Post a Comment